I haven't posted on this blog in a while but today I have a really big announcement! I've decided that it's time for me to get the contents of my design notebooks (about 15 in all) out into the world. I love teaching in person but with the current situation in our society, I have no certainty that this will be an option any time soon. I've considered the idea of a book for years but with today's cutting edge-technology, I'd rather put the content directly into the hands of the consumer, as it's more immediate and easy to update. So over the next months, I'll be publishing my techniques as a series of PDF files available in my Etsy shop as stand-alone tutorials.
I'm calling this the Polymer Surface Design "Discovery Series" and I'll be covering all the various surface design techniques that I've discovered and used for my work since about 2010. Some of the tutorials will be strictly technique-based, some will include construction and design details. ALL of them will involve using color and texture in bold and unusual ways!
We'll take our maiden voyage together with a technique that I've been using for a few years, utilizing the Distress® Oxides® from Tim Holtz and Ranger Industries, a combination of dye and pigment that oxidizes when water is added, creating a matte, hazy bloom that enhances textures very well. They blend beautifully when wet and when a new color is applied to a dry surface, the colors layer without producing 'mud'. I had to tinker quite a bit to make sure the Oxides® adhered to polymer clay and dried completely but fortunately, my art school experience finally lead me to the solution, which I'm pleased to be able to pass on to lovers of this amazing medium!

"Byzantine" - polymer clay, Distress® Oxides®
The tutorial is posted in my Etsy shop today: https://www.etsy.com/shop/storiestheytell, under "Tutorials". I'll also be setting up a private Facebook page -- "Polymer Distress®Oxides® Community"-- for posts by anyone using the technique from the tutorial and with tips, additional information for variations on the technique and maybe some videos. (I have a very high standard for myself and there's a lot to learn about video production before I'm willing to post any).
Why use PDF files instead of video? Well, I'm kind of old-school and, as much as I appreciate videos and the kind of learning they provide, I still would rather have a more 'book' like, non-electronic, visual record of my life's work. I've designed the pages so they can be put in a plastic sleeve and into a notebook so they're accessible to you wherever you're working with your polymer.
Here's a gallery of some of the pieces I've done using the Distress® Oxides®. I love Tim Holtz's color palette, it's right up my alley!


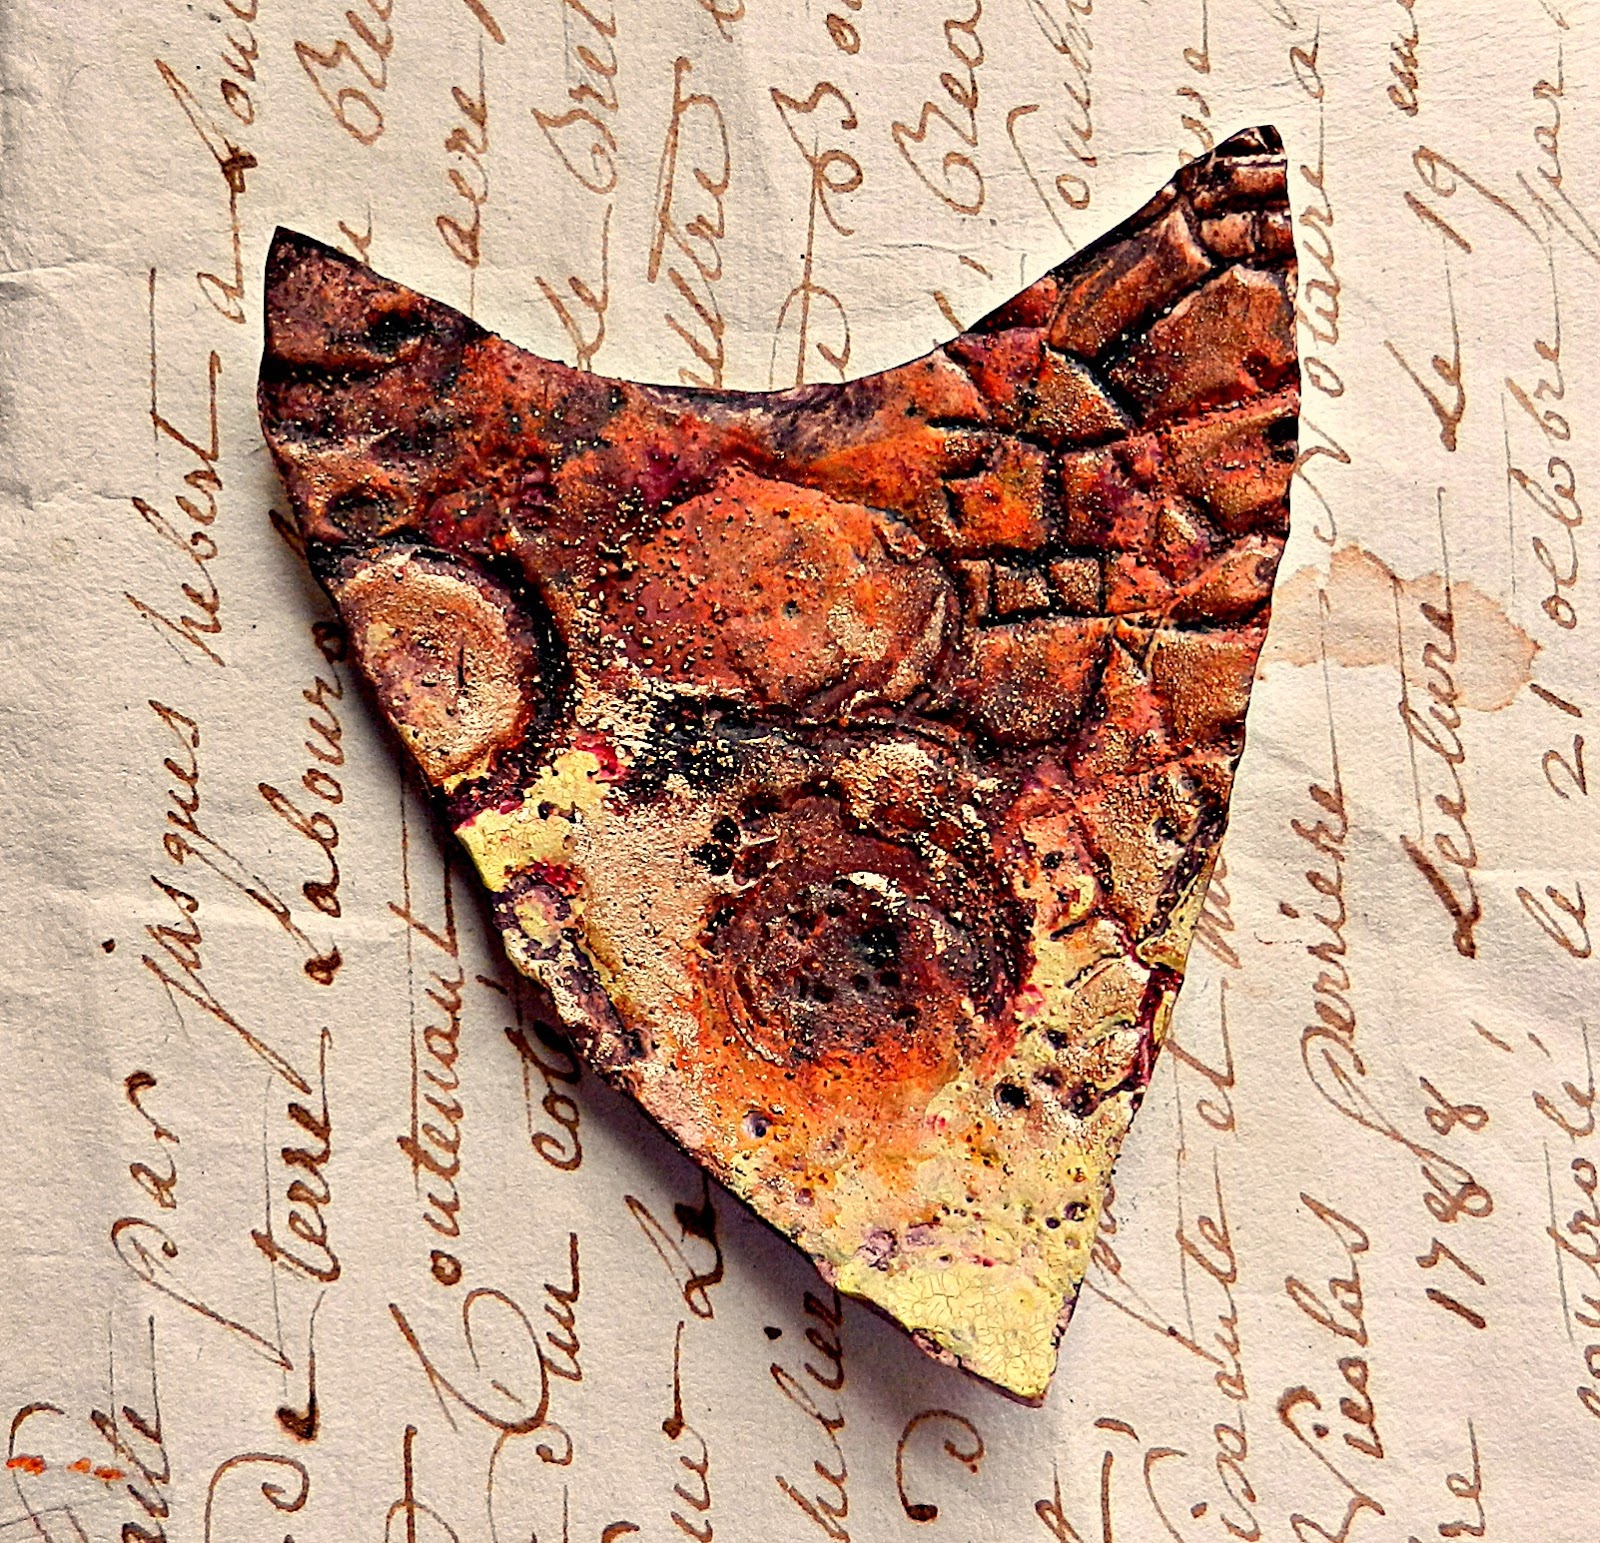
"Fallen Leaves" - Distress®Oxides® colors Crackling Campfire, Mustard Seed,


"Inner Circle" - polymer, Distress® Oxides® colors Seedless Preserves,

"Reef"

"Field and Stream"

"Double Exposure"


"Turnabout" - Double-sided beads made from test shards

"Turnabout" - flip side

"Kyoto II"